Monday, October 19, 2015

Lots of Ribbons at Ninigret Quilters Show

Been a while since I've posted but it's been beyond busy. Early in September the national non-profit of which I'm a member and Coordinator of the Judge Certification Program for, the National Quilting Association, voted to dissolve the association. The Certified Judges decided at that point to form their own non-profit organization, so after forming a Transition Team to get this to happen, I've been more than busy working with the team, answering the questions and concerns of the Judges, working on the website (which isn't cooperating), etc... you get the picture.

So.. the quilts I entered into the Ninigret Show in August had to get done as well for the judging day the first week of October - no pressure there - LOL! Not to mention that 3 of them weren't really complete yet. They each needed quite a lot of piecing, applique and lots of quilting.

The show was this past weekend and my quilts and the quilts I quilted for others did very well. Here's a bunch of pictures and a description of each quilt.

The oldest quilt in the bunch was begun in 2002 as a BOM from a quilt shop in TX. It's a pattern that I fell in love with at the Houston show and it will be the first quilt to make it onto my own bed - sans Westie.


Garden Finale received two ribbons on the judging day: Best Machine Quilting - Track - Master and  Best of Master. At the show is also gathered a Vendor ribbon from Just Quilts in Bristol, RI and Viewer's Choice! I've never had a quilt receive the Viewer's Choice ribbon - a thrill.

Here's a closeup of the quilting that I designed and stitched out - majority of it free hand. The quilting is best seen from the back of the quilt so the white glovers had a busy weekend.


My scarab beetle quilt, designed in a workshop with the amazing Jane Sassaman last December, was the last of the quilts finished before the deadline. I had fun designing the quilting for "Himself" as you can probably tell. He received two ribbons: Best Applique - Master and Best Color - Master. Jane's applique technique is great - esp when you do it correctly, which I had failed to do on a previous quilt that has the softness of a brick...


A quilt I designed and made for Quiltmaker magazine and was in their March/April 2015 issue, "Spot On", also received a ribbon  - Best Mixed Technique - Master. The circles were appliqued on for the magazine, although if you know me, I much prefer using the freezer paper frame, starch, school glue, heat - set, stitch method... It is a stunning quilt.


My fun little 'Monsters" quilt won a ribbon for Innovative - Master. Viewers said that is made them smile...The little monsters are pieced into a contrasting fabric frame first, then the frame is pieced into blocks created from just one 40 strips jelly roll. The only leftover is about the size of half a block. I found the perfect border fabric at Colchester Mill Store in Colchester, CT to carry out the grey scale theme.


I had a a quilt from 2005 that I also finished for the show. It was begun in a workshop with Jan Krentz at A Quilter's Gathering in Nashua, NH, aged for many years, also made it out the door as a bag of blocks to quilt guild donation table a couple of times but is finally done. So hard to get back into a project when you have let it sit this long but the book and classroom instructions helped me finish it without too much ripping out and restitching.


 An exciting weekend filled with fabulous quilts, time spent with friends, and helping DH Bob vend his Singer Featherweights. If the number of people getting their Featherweights ready for some serious sewing this winter is any indication - it's going to be a long, snowy winter with massive amounts of fabric consumed and a serious need for spring replenishment of stashs!

Two quilts I quilted for customers did very well too.

Donna's quilt won Best of Show - Artisan as well as two additional ribbons!


And Tina's received quite a bunch of ribbons too, plus the NQACJ Ribbon of Merit from Judge Sandra Dorrbecker and a Vendor Ribbon as well.


Hope you enjoyed this little quilt show!


Tuesday, August 11, 2015

Digging out those UFOs

After years of trying to ignore my UFOs that were started in a class, decided to dig them out and go through the pain of figuring out where I quit, what I needed to do next and just doing it! The oldest UFO I'm tackling is from 2002. That was the year I retired from being an elementary school librarian and jumped full time into my longarm quilting business. I figured I'd have tons of times to keep up with this Block of the Month (BOM). After all, it would just be one block a month to piece and then needle turn applique on top of. The piecing went along just fine, but the applique...not so much. I did drag the individual blocks around with me and did get some done but each one was different and picking the fabrics was time consuming and slow.... as is my version of applique. So... after 13 years,  it's finally done and on the longarm. Need to get it done in the next two weeks, have its quilting pretty well designed in my head. BTW, it's 90" x 90" and may be the first quilt that has ever made it onto my own bed


I'll keep you posted, no really long hiatus like there was after Brandon's quilt.
But, I did get the laundry room and the mud room painted a beautiful periwinkle and the kitchen ceiling too - a nice bright white, so I've been staying out of trouble. Oh, but  did I mention, I bought a new longarm last week at the AQS show in Syracuse - an Innova! Can't wait for it to arrive!!

Tuesday, June 2, 2015

Brandon's Tractor Quilt - step by step

So.  it's been a while since I've posted, been busy with all kinds of things:
Designing virtual quilts for On Track magazine
Writing articles for the NQA Quilting Quarterly on judging
Longarm Quilting
Teaching EQ7 classes
cleaning, cooking, and
setting up a fabric dyeing area in the basement...
 and none of them were obviously blog posts

Here's there I started with Brandon's quilt, did an image search on Google, looking for a cartoonish kind of tractor that would be cute on a child's quilt. This is what I picked - love the eyes and the smile, such expression!


So next I uploaded this image into EQ7 as a jpeg image to be traced,above.  Tracing took a chunk of time as I had to be create applique patches and figure out the layering from back to front. Here's the PatchDraw Motif worktable from EQ7 where I traced it using the freehand drawing tool.


 Once I had that figured out I printed out the fabric yardage amounts and headed to my favorite quilt shop, Ryco, in Lincoln, RI. I had an EQ7 group to teach too so "two birds with one stone" .

 Here's the pattern. I printed our the whole block adjusted by EQ to a 24" center, then printed out the applique pieces.  In EQ7 you can select your seam allowance width, I printed it out with no seam allowance as it was going to be raw edge applique.


Once I had all the applique pieces cut out the layered pieces using Misty Fuse fusible (my favorite). Wibbled the pieces around a bit to make sure all the raw edges were evenly positioned/covered.Lots of pins here, then fused the back layer down, zigzagged the edges, then worked my way forward, removing the pins as I went. Here her is all pinned and ready to be stitched.


Next I needed templates for the letters for his name, so went into word, played with fonts and sizes, then printed out the templates for the name letters. Misty-fused a chunk of black fabric, then cut out and fused the letters onto the background. After they were satin stitched, trimmed the little hairs that always seem to hatch with raw edge applique


All satin stitched and ready for the borders. 


For the border, I went back to Google images searching for construction tape, found this one and downloaded it, checked the angle of the stripe with a protractor, made a yellow and black strata, then cut chunks of the strata  for the border.Played with the width of the finished border a bit - like to try different widths and take pictures, then compare them til one works really well. 
(overly skinny borders are a pet peeve of mine...LOL)


Here's the finished design...


So here it is all designed, but of course, can't find the jpeg of it in its final state before I wrapped it up and gave it to the birthday boy - just a bit late. He's enjoying it and insists on quite a pile of quilts quilts every night, regardless of the weather.

Hope you enjoyed seeing the process. EQ7 is such a versatile tool, can do it all from soup to nuts.


Monday, January 26, 2015

Brandon's Birthday Quilt

Now that things have settled down after the holidays, playing catch-up on some projects that fell by the wayside last fall. Grandson Brandon's 2nd birthday in October found his birthday quilt still in the design phase, so I've been working on getting it closer to a reality. The theme for his birthday was all things construction, even found him a construction role playing outfit from Melissa and Doug and lots of truck books to add to his library.

I found a tractor image on Google that I imported into EQ7, then traced as applique and I'll be posting the progress I make on it.

Here's the jpeg from EQ7 - it's very cute and I'll keep you posted. Have the applique done and the black and yellow border pieced. This blizzard just might give me a chance to finish it!


Thursday, December 25, 2014

Happy Holidays!!!

Thought I'd share one of the Christmas quilts I designed for Quilting Treasures a few years ago. LOVE the poinsettia fabric and just had to make up one for myself. The fabrics all have a glint of gold to them as well, even more festive. This is a free pattern too which can be found of the Quilting Treasures website. Enjoy!


Here's the block too. It was featured in Quiltmaker's 100 Blocks magazine, Volume 3.


Enjoy the day surrounded by family and friends.

Sunday, December 14, 2014

Super Workshop with Jane Sassaman at Hudson River Valley


Just home yesterday from a fabulous week with an amazing group of women at the Hudson River Valley Inn in Greenville, NY with my quilting buddy Judy Chase.   With just 9 of us in the group, we had lots of one-on-one time with Jane as she walked us through the process of "Abstracting from Nature". I chose a scarab beetle as my "nature" and surrounded him with leaves, the design of which the delightful Stella allowed me to replicate. We won't go into what this adorable bug has at mealtime, couldn't bring myself to add his favorite meal to the quilt design...

Besides having the freedom to work all day at our projects we also were pampered each night with gourmet meals prepared by Chefs Mark and Kim LaPolla - delicious... and even had time to mosey up to the local Western store to try and wipe out their slipper stock.

Got a good start on putting my bug quilt together with some decorative stitches on my Pfaff. Spent one morning making a sample book of all the stitches - about time after having the machine for 10 years - LOL!

What a luxury to have time to create without the demands of regular day-to-day life!

Tuesday, November 18, 2014

Quiltmaker 100 Blocks - Volume 10!!!!! That's 1000 Blocks - a lot of blocks!

Welcome to my blog!

Hope you'll have the time to visit and comment so I have a chance to give away some copies of the magazine. The magazine is chock full of amazing blocks - they get better with each issue!

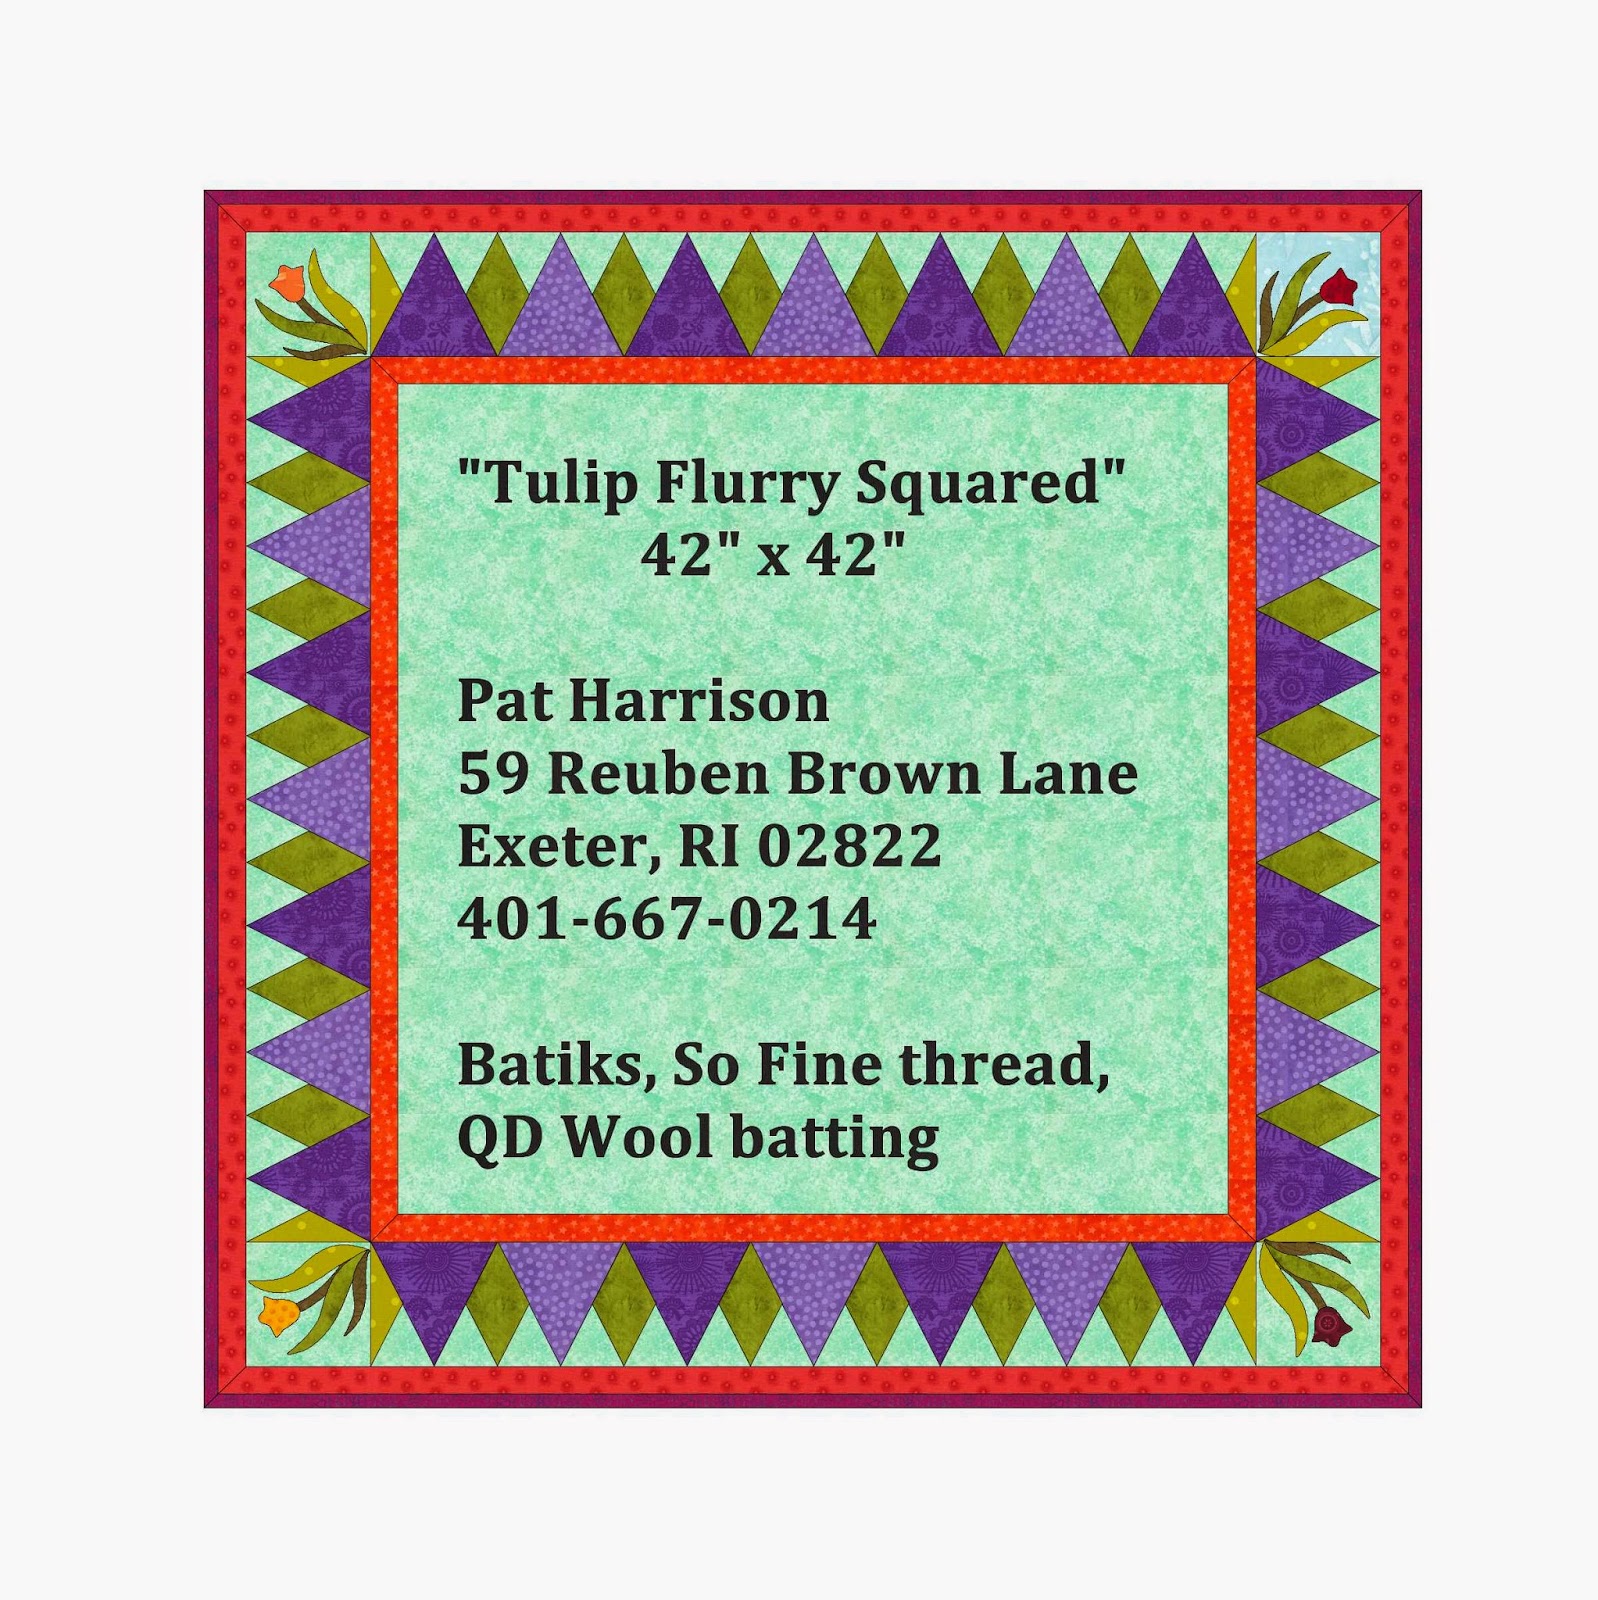
Here's my block, Tulip Flurry(page 19, #904), inspired by my love of tulips and a trip to The Netherlands in 2013, took a while to percolate. I used raw edge applique with a collection of batiks and Misty Fuse for the fusible. Such a great product... love that it doesn't change the hand of the fabric yet holds all those little bits nice and secure while they're stitched down.


I design exclusively in EQ7, (even teach EQ7 all over the place and design for Quilting Treasures) such a great and powerful program.
So, besides the quilt on page 14 of the magazine (notice the little tulips in the corners), here's a glimpse of some other quilt designs I popped Tulip Flurry into. As there was a time crunch getting the quilt to QM, the applique vine went by the wayside but I do like the way it repeats the tulips and greenery out to the border.


This one is sans applique, but still very pretty. I would be fun to choose the strata fabrics for the corners - now, that could use up some scraps.And who doesn't love a scrap quilt - so much to explore and such vibrancy and movement!


And lastly, I create a label for the quilt using the quilt design in EQ, how much more custom can you get? - yes, I am a bit obsessive.
I did get so inspired seeing all the varieties of tulips at Keukenhof in The Netherlands, here are some pictures for you to enjoy!


Hope you've enjoyed visiting my blog, I'm always posting pictures of my customer quilts as well as what I'm up to in my own designs, so check back in again.
 Enjoy the Blog Tour!


Sunday, November 16, 2014

Blog Tour - This Tuesday!

Hope to see you all on the Blog Tour this week. My blog will be featured in Tuesday so have to get that post ready tomorrow to go live at 12:01 am Tuesday. Haven't managed to get it right on time yet - so maybe this time is the charm!

I'll be posting about my block, Tulip Flurry, which was inspired by a trip we took to The Netherlands in 2012. A beautiful trip topped off by a visit to the amazing gardens at Keukenhof - never seen so many varieties of tulips and orchids as well - mid boggling!

Keukenhof is only open a short time every year, they even rent their swans for the river. Could have spent a number of days here - just beautiful!


Previous to going to Keukenhof we had visited a tulip farm where they grow tulips  - but only sell the bulbs. So the tulip flower is chopped off and discarded. We kept insisting there must be some use, but no, they're compost. The tulips we buy in this country are raised in greenhouses, never in a field. The tulips in this next pix were being forced under plastic just for the tourists as the cooler weather had made the blooms about 2 weeks behind their usual schedule. It was incredibly windy that day and very cold - poor tulips!


So, in my block, which I'll be able to share with you on Tuesday on the tour, the tulips have lots of movement, just like these.

Hope to see you there! Just use the link at the bottom of the this poster and you'll be at the tour - Enjoy!


Sunday, November 2, 2014

Quiltmaker 100 Blocks - Volume 10 has arrived

Just home from a quick trip to upstate New York and found that a nice little pile of Quiltmaker 100 Blocks, Vol 10, had arrived for me. My block "Tulip Flurry" and my small quilt by the same name is also featured in this issue.


There's a Blog Tour coming up in a couple of weeks, hope you'll join the tour. I'll be giving away copies of the magazine as well as talking about my design process in both the block and the quilt.


Wednesday, October 29, 2014

More fabric dyeing - low water immersion variety this time

LOVE getting packages in the mail, like a little bit of the holidays all year round. Monday when we came home from spending the day with the members of the Shining Tides Quilt Guild in Mattapoisett, MA, a package full of fabrics was waiting on the porch. Couldn't wait to open them to see the results of the low immersion dyeing that Beverly and I completed last. I'd had to leave them with her as we ran out of time and I was just itching to see how they came out - GLORIOUS would be my word for them. Here they are... Enjoy!

This first one is an ice dye.


These threewerepinched into pleats, then arranged in a tray in a serpentine shape, liquid dye squeezed onto them, then the fabric was gently pressed to distribute the dyes and increase the chances of some interesting color interaction.


Dyes were sprayed onto this one... think this is a very cool one...


These next two were made by twisting the fabric using a pencil eraser as the twister. Forming the circular shape took a little help when it got to be too much for the eraser. Once the circular shape was set,  liquid dyes were squeezed onto the fabric working from the center out, then the fabric was pressed to distribute the dyes and to create the color interplay.


Well, that's it for now. Busy designing quilts in my head that would make best use of these beauties. Will keep you posted.

Thursday, October 23, 2014

Fabric Dyeing 101 - for me anyway...

Spent 2 days with my dear friend and frequent mentor Beverly in her dye studio in VA. We created some beautiful fabrics and I learned so much about the process, the experimentation and the fun of it.
Here are some of my results. I used regular PFD and some sateen, not sure if you'll be able to tell but I'll describe how each one was created. We used ProChem's MX Fiber Reactive dyes on 100% cotton.

These two are folded, pressed between small wooden boards, then clamped to provide a mechanical resist...


These four are sewn to fit tightly on a PVC pipe, then crinkled onto the pipe and placed in a dye bath while squished on the pole, no over-wrapping was involved. The wider, non patterned area on the last ones provides some matching fabric.


These two are fat quarters that were wrapped diagonally on the PVC pipe, then squished down to create the ripples. The bottom one was also dyed the day before with non-soda ash prep so that the colors washed out a bit and are softer.


These three are fat quarters wrapped and squished onto thick marine rope. This is my favorite fabric result.


These fat quarters were bunched then wrapped in tulle and rubber banded before going in the dye bath.


These two long quarters were dyed without a soda ash dip, dried, then stitched and scrunched onto PVC pipes before they went into their second dye bath.


This last fat quarter surprised us with how well it came out. Whiffle balls were covered with fabric, then tightly rubber banded before going into the dye bath.


A lot of fun! What I hadn't realized was how much preparation of the fabric was needed before the fabric got near the dye bath.

We also did some ice, tray and coil dyeing. They're coming in the mail as we ran out of time - can't wait to see them.

Very pleased with the results and ready to tackle more dyeing as well as more fun techniques in my new dye studio in the basement. Have the used restaurant sink and the used washer all installed, ready to get going - such fun!!!